
Coschedule recently reached out to many B2B content marketers and asked them about their biggest challenges in content marketing.
And the results were SHOCKING!

The #1 problem for content marketers was to create high quality & engaging content on a regular basis.
If you are struggling with writing blog posts then today is your lucky day.
Cause we are going to give you 10 tips on cranking out high quality & engaging content fast.
Let’s dive in.
Jump To...
Tip #1 Research Before Writing
When you sit down to write your blog posts you should only concentrate on writing.
And not on researching what to write about.
If you research when you should write, then you will end up multi-tasking and hurting your productivity.
This is not good at all and you should always avoid it.
Also researching your blog posts before writing ensures better quality articles to your readers.
Suggested Reads:-
How To Research For Blog Posts (As If You Were Marco Polo)
Tip #2 Outline Your Article
Outlining is key if you want to stay on topic and write your blog posts fast without getting distracted.
Outlining can help you cover all the subtopics in your blog post without having to bounce between tabs in your browser.
Plus, it helps improve your content quality and delivery.
You can use tools like


or Workflowy
We use Dynalist for Outlining our Blog Posts because it is much more flexible than Workflowy (and it’s free).
Let’s see how you can outline your Blog Posts.
Step #1 Conduct Your Research
Remember, we told you to conduct your research before actually writing your blog posts? This is where it comes into play.
While conducting your research you check all the stuff out there about your topic.
Be it blog posts, Infographics, or Videos.
And then you dump all the research you have done to a note-taking app like Evernote, just like this;
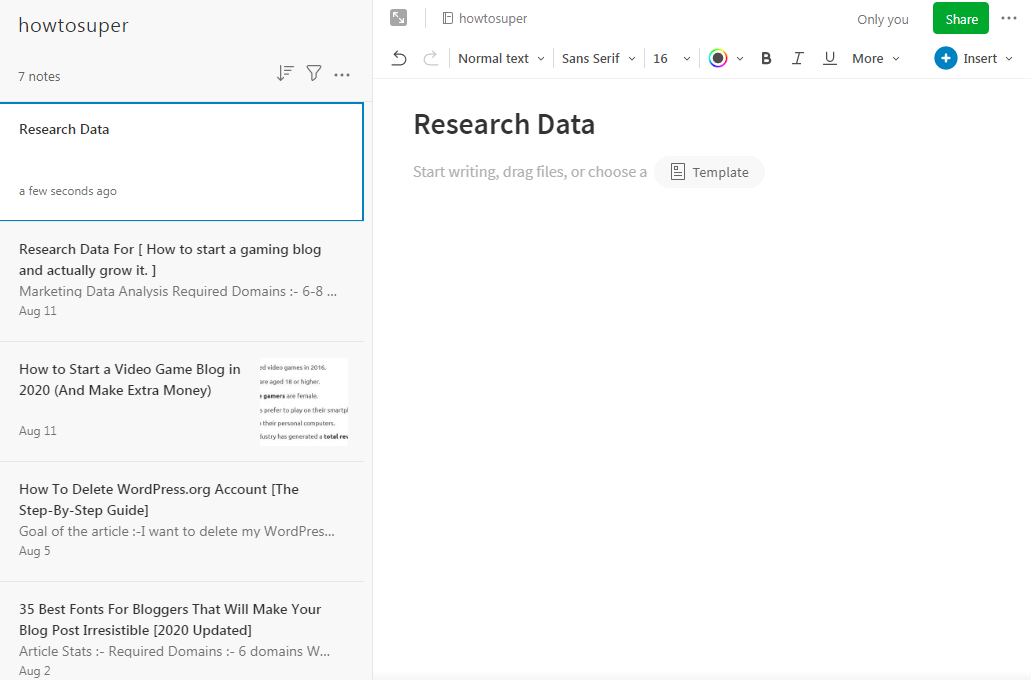
Say We are researching a topic like “how to rank your blog ”.
Then we would read all the blog posts out there and note down everything we would find in EverNote.
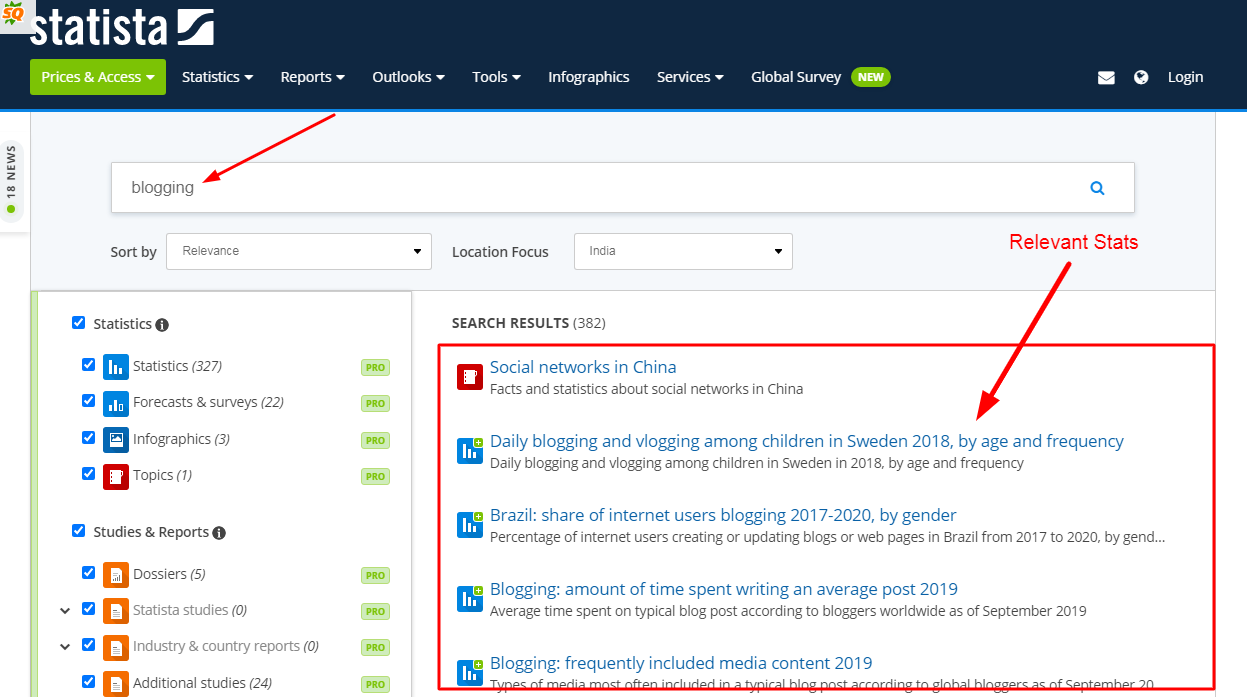
We would then find out stats about our topic using Statista by typing in a related keyword like blogging and get relevant stats.
Remember;
“The More Detailed You Get On Research, The Better Content You Create”
You can conduct research for your blog posts however you want. But we think this strategy is great to get started with.
Want to see a step-by-step tutorial on researching?
Read:- How To Research For Blog Posts (As If You Were Marco Polo)
Step #2 Creating Your Outline
Now you need to create your outline.
We will be doing this using Dynalist, which is free and very flexible.
Outline The Introduction
The sole purpose of writing a good introduction is to spark the curiosity of the reader to keep reading.
It should be controversial and raise questions in the mind of the readers so that he/she wants to keep reading.
It should also be relevant to the Reader actual problem otherwise he won’t be interested to keep reading.
Get Ideas For Subtopics In Your Blog Posts
When you are analyzing the articles which are already ranking in the top 10 you must note down all the subtopics they are covering in their blog posts.
You can use tools like HeadingsMap to get the entire heading structure of the article without actually reading the article.

The Main Goal is to find as many topics from your competitor’s page.
Say we are researching for my blog post “How to Lose Weight ?”
Then I may easily land upon this post from Healthline which is sitting at the top for the target keyword “How to lose weight” from time immemorial.
We just click on the headings map chrome extension and then it shows me the entire heading structure of the Blog Post.
Now I can note down the sub-headings that I want to cover in my post.
Another way you can find superb Subheading Ideas is by using a free chrome extension called Keywords Everywhere.
What Keywords Everywhere will show is all the related searches that people perform when typing in your target keyword.
The best thing about it is that It saves you time as you don’t have to manually check the People also ask and People also search for all your related keywords.
Let’s search for a keyword like “ Keyword Tool ”
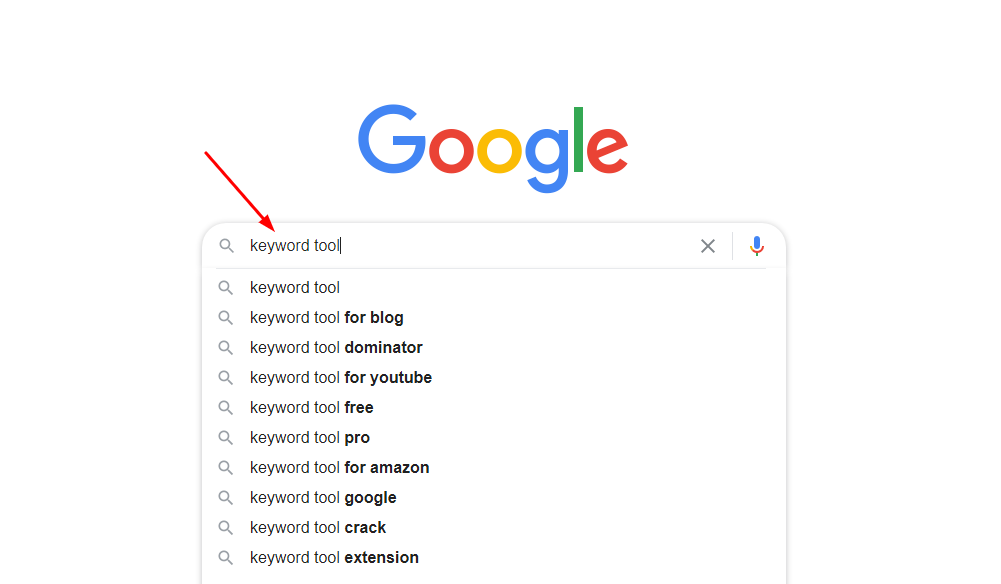
And Keywords Everywhere will show you all the related terms to “Keyword Tool”.

Outline The Points To Be covered Under Each Subtopic
In this step, you need to specify what has to be covered inside each of the subheadings that you are going to include in your Blog Post.
You can get an idea of which points to cover inside your Blog Post by reading the blog posts of your competitors.
Also, write in any stats or mentions you have to use inside the subtopic.
Outline the Conclusion.
You need to outline the most interesting facts and points you have discussed in your article inside your conclusion.
And make sure it’s very good and compelling.
Why?
Because according to Neil Patel, when people see a long article, they scroll down to the conclusion and read it to check whether the entire article should be read.
So you have to feature key takeaways from your article in your conclusion and make it super compelling.
Set a Word Count for Each Subheading.
Setting up a word count for each subheading in your post helps you to write more efficiently, as you can pre-decide were to write more and vice-versa.
Plus if you decide your Word count then you can write more actionable content without overwhelming the readers with unrelated fluff.
Suggested Reads:-
How to write a blog post outline [Workflowy & Dynalist +Template]
Tip #3 Know Your Destination
Writing down the introduction is most difficult.
And many people tend to waste their time, thinking about the perfect introduction.
The point is;
You can write a compelling introduction only when you know where your article is going to go.
So as a general tip, it is considered that writing your conclusion first helps you write better introductions.
Tip #5 Don’t Try To Be William Shakespeare
Are you a Literature writer, Who has to use perfect sentences to demonstrate how the world works?
Of course not.
Heck, Neither of your Readers are Literature writers.
Don’t try to be a perfectionist. You are not writing a novel which will revolutionize the world.
You are writing a blog post which does not need perfect sentences (a bit would help though).
And even if you mess up with your sentences then you can always rewrite them, whenever you want.
Tip #5 Practice Makes A Man Perfect
Practice, Practice and Practice.
As the saying goes “Practice makes a man perfect”.
Just reading this article and then moving onto the next great thing isn’t enough.
You need to implement all these tips & invest your time practising writing blog posts.
Tip #6 Use The Pomodoro Technique
Set a timer for about 25:00 minutes before sitting down to write down your blog post.
Then type continuously without stopping till the timer goes up.
After typing for the first 25 minutes take a break of about 10 mins to relax your fingers and then start again.
Now, the goal here is not just to blindly type in as many words as you can.
The real goal here is to write down with efficiency without getting distracted.
And you can always mix & match your timings and don’t have to sit for 25 minutes only.
Tip #7 Create A Post Template
Post templates help you stay organized with your blog posts and also keep them as much value as possible.
How?
Well, they speed up your writing and make your posts more actionable.
Here are some examples of Post Templates (Source)
#1 The Classic List Post

#2 The Detailed Case Study

#3 The Product Showdown

#4 Things To Do After “X”

#5 The Beginners Guide

#6 How “X” Did It

#7 The Myth Debunker
Tip #8 Ignore Typos And Spelling Mistakes
While using the Pomodoro technique for writing blog posts you will make certain typos and spelling mistakes.
But you don’t have to stop to correct the typo or spelling mistakes.
You can always correct the typos and errors while your final edit.
So don’t stop correcting every single typo or error you make instead keep writing because at the end of the day you will again edit your blog post to correct it.
Tip #9 Customize & Design Your Post Later
While writing your blog post doesn’t stop to customize your blog posts as it only slows down your workflow and speed.
You get caught up with designing your text and then at the end of the day, you don’t get your Blog Post completed.
Which is the main reason for this blog post.
Bottom Line; Write first, customize later.
Tip #10 Copy Our System For External Linking (Instead Of Linking while writing)
Linking out to other authority sites in your niche helps improve your topical relevance in the eyes of google.
So you should link to at least 3-5 external sources from your blog post.
But Link only when it makes sense and not just for the sake of it.
After you are done with the post, go through it once and see which words in your article are relevant to other posts in your blog.
Then go to google and type in this search string.

And then hit search.

And then link all the relevant articles.
Tip #11 Outsource Your Blogging & Content Creation Efforts
This is the most obvious out of all the tips. If you don’t have much time for blogging and Content Marketing yourself and you are just looking to work wonders with these tips then it’s not going to work.
Outsourcing will solve all your blogging and content marketing problems at once. When you hire an agency they will have an expert person who has more time than you working on your projects.
Thus you can expect a good ROI on your Outsourcing campaigns. And better content for the growth of your business.
Wrapping Up
Writing Is A Skill.
You have to practice and practice to improve your writing speed.
The tips in this article can be implemented right away, so try them out and you should see a significant increase in your writing speed.
With that said join our “Underdog” server in Discord to ask your questions, share your ideas and ultimately to have fun.